How to Make Your Own Organic Lip Balm: The Ultimate Step-by-Step Guide
Introduction
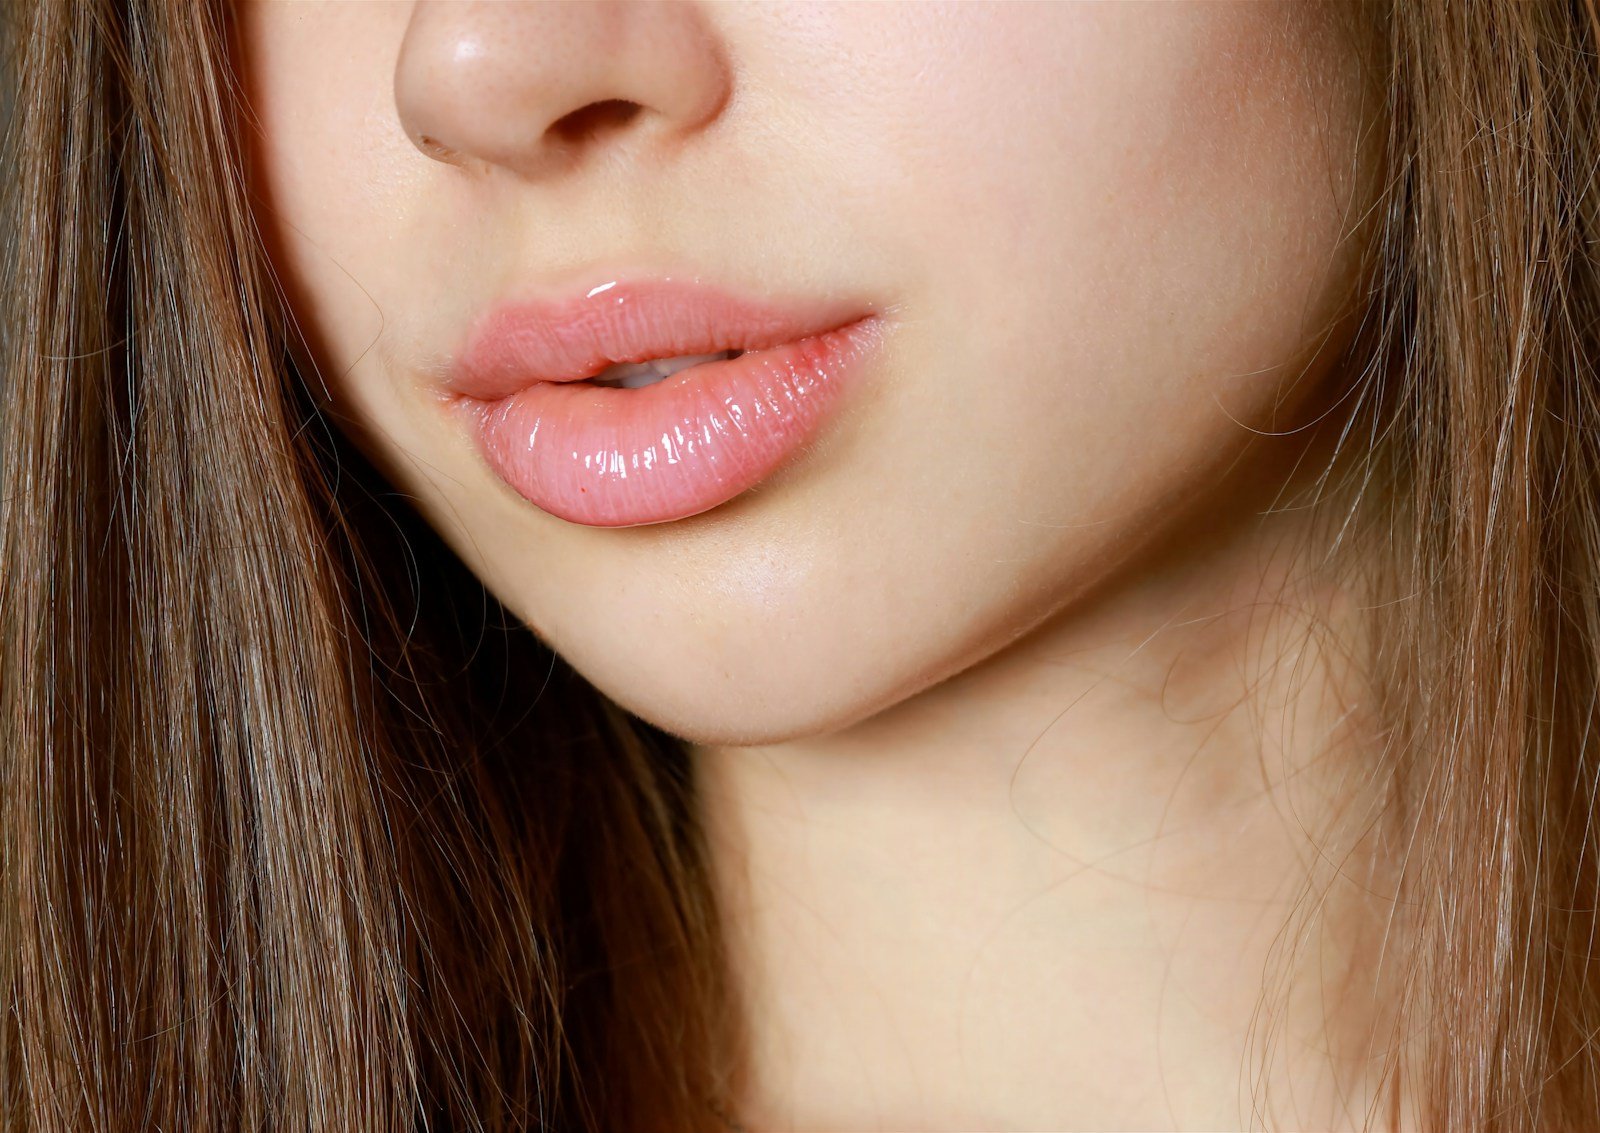
Learning how to make your own organic lip balm is one of the simplest and most rewarding ways to transition into a cleaner, more sustainable beauty routine. While many commercial lip products rely on petroleum-based jellies and synthetic fragrances that can actually leave your lips feeling drier over time, crafting your own allows you to control exactly what touches your skin.
By using pure, earth-grown ingredients, you aren’t just protecting your pout from the elements; you are also making a conscious choice for the planet. According to the Environmental Working Group (EWG), many conventional lip products contain “fragrance” or “paraffin” that may carry hidden chemicals, making the organic, DIY route a much safer alternative for your daily regimen.
In this ultimate guide, we will walk you through the process of selecting the finest raw ingredients, mastering the melting process, and troubleshooting common mistakes. Whether you’re looking for a vegan-friendly formula or a deeply hydrating winter salve, you’re about to discover how easy it is to achieve professional-grade results right in your own kitchen.
Why Choose Organic Ingredients?
When you make your own organic lip balm, the quality of your ingredients is the single most important factor. The skin on your lips is significantly thinner than the skin on the rest of your body, making it more susceptible to absorbing chemicals and reacting to environmental stressors.
Choosing organic goes beyond just a “green” label; it’s about the efficacy of the product. Certified organic oils and butters are processed without the use of synthetic pesticides or GMOs, ensuring that the natural fatty acids and antioxidants remain intact. For instance, organic cold-pressed coconut oil or shea butter retains higher levels of Vitamin E and A, which are essential for repairing cracked skin. The USDA Organic Standards ensure that these ingredients are produced through approved methods that integrate cultural, biological, and mechanical practices that foster cycling of resources and promote ecological balance.
Furthermore, opting for organic ingredients helps you avoid petroleum-based emollients. Many mass-market balms use mineral oil or petrolatum, which can create a suffocating barrier on the skin rather than providing actual hydration. By switching to plant-based waxes and oils, you allow your lips to breathe while providing a sustainable alternative that is biodegradable and eco-friendly. According to research on sustainable cosmetics from Ecocert, using plant-derived ingredients significantly reduces the chemical load on both your body and the water systems.
Tools and Equipment Needed
Before you begin the process to make your own organic lip balm, gathering the right tools is essential for a smooth, mess-free experience. Since you are working with waxes and oils that solidify quickly, having a dedicated workspace will help you maintain the right temperature throughout the process.
Most of these items are likely already in your kitchen, but it is important to ensure they are heat-safe and thoroughly cleaned. Here is the essential kit you’ll need:
-
Double Boiler Setup: To prevent burning your delicate organic ingredients, you should never heat them over a direct flame. You can create a simple double boiler by placing a heat-safe glass measuring cup (like a Pyrex) inside a small saucepan filled with an inch or two of simmering water.
-
Precision Scale or Measuring Spoons: While many DIYers use teaspoons, a small digital kitchen scale provides the most consistent results. Formulating by weight ensures your balm has the same perfect texture every time. You can find a good digital scale here.
-
Stirring Utensils: Use a glass stirring rod or a clean wooden skewer. Avoid plastic spoons, as they can melt or leach chemicals when exposed to high heat.
-
Lip Balm Containers: You can choose between BPA-free plastic tubes, recyclable aluminum tins, or glass jars. If you are looking for eco-friendly options, Amazon offers a wide variety of sustainable containers specifically designed for cosmetic use. Check them out here.
-
Clean-up Supplies: Keep paper towels nearby. It is much easier to wipe out a glass beaker while the wax is still liquid than to scrub it off once it has hardened.
Using clean, dry equipment is vital because any introduction of water can lead to mold growth, as organic balms typically do not contain synthetic preservatives. For more information on maintaining a sanitary environment for DIY cosmetics, the FDA’s Guide on Cosmetics Safety provides excellent baseline practices for home crafters.
The Core Ingredients (The Base Formula)
To successfully make your own organic lip balm, you need to understand the “Golden Ratio” of DIY skincare: a balance of wax, butter, and oil. This trio ensures your balm is firm enough to stay in a tube but soft enough to glide across your lips.
Here are the four pillars of a high-quality organic formula:
-
The Hardener (Beeswax or Candelilla Wax): This provides the structure. Organic beeswax pellets are popular for their natural honey scent and antimicrobial properties. If you prefer a vegan version, Candelilla wax, derived from the leaves of the small Candelilla shrub, is an excellent plant-based alternative that offers a glossy finish.
-
The Nourishing Butter (Shea or Cocoa Butter): Butters provide the “body” and creaminess of the balm. Raw, organic Shea butter is incredibly moisturizing, while organic Cocoa butter adds a delicious chocolatey aroma and is rich in polyphenols.
-
The Carrier Oil (Coconut, Jojoba, or Sweet Almond Oil): These oils which you can find here carry the nutrients deep into the skin. Jojoba oil is a top choice because its molecular structure is very similar to human sebum, making it highly compatible with your skin. You can learn more about the skin-benefits of various plant oils from the National Center for Biotechnology Information (NCBI).
-
The Natural Fortifiers (Vitamin E and Essential Oils): Adding a few drops of Vitamin E oil acts as an antioxidant to prevent the carrier oils from going rancid. For scent, use therapeutic-grade organic essential oils like Peppermint or Sweet Orange. It is crucial to follow safety guidelines when using these; organizations like the Tisserand Institute provide essential safety data on dermal limits for essential oils to prevent irritation.
A standard starting ratio for a firm lip balm is 1 part wax, 1 part butter, and 2 parts carrier oil. You can adjust these proportions depending on whether you prefer a firmer stick or a softer salve.
Step-by-Step Instructions: How to Make Your Own Organic Lip Balm
Now that your workspace is prepped and your organic lip balm ingredients are measured, it is time to make your own organic lip balm. This process moves quickly once the wax begins to melt, so ensure your containers are open and ready before you start the heat.
Prep Your Containers:
- Place your empty tubes or tins on a flat surface. If you are using tubes, it is helpful to stand them upright in a small container or rubber-band them together to keep them from tipping over during the pour.
Melt the Base:
- Place your beeswax (or candelilla wax), organic butter, and carrier oils into your glass measuring cup. Place the cup inside your saucepan (the double boiler) and turn the heat to medium-low. Allow the mixture to melt slowly, stirring occasionally. According to the Soap Queen’s guide to melting points, beeswax melts at approximately 145°F ($63^\circ\text{C}$); avoiding high heat ensures you don’t degrade the organic nutrients.
Perform the “Spoon Test”:
- To check the final consistency, dip a metal spoon into the liquid and set it aside for a minute. The small amount of balm on the spoon will cool instantly, showing you exactly how firm the finished product will be. If it’s too soft, add a pinch more wax; if too hard, add a splash of carrier oil.
Add Essential Oils:
- Once the mixture is completely liquid and clear, remove the glass cup from the heat. Let it cool for about 30 seconds before adding your organic essential oils and Vitamin E. Adding them while the mixture is boiling hot can cause the delicate aromatic compounds to evaporate, a process known as the “flash point,” which you can read about in detail via AromaWeb’s essential oil safety guides.
The Final Pour:
- Carefully pour the liquid into your containers. Fill them almost to the top, leaving a tiny bit of room for the “sinkhole” effect (the center often dips slightly as it cools). If you have a steady hand, you can do a second “top-off” pour after a few minutes once the first layer has skinned over.
Cool and Set:
- Let the balms sit undisturbed for at least 1 to 2 hours. While it is tempting to put them in the fridge to speed things up, cooling at room temperature prevents the wax from cracking and ensures a smoother texture.
Expert Tips for Success
Even when you make your own organic lip balm following a recipe, small variables like humidity or the specific harvest of your shea butter can affect the final result. To ensure your batch turns out professional every time, keep these expert tips in mind.
-
Mastering the Texture: If you live in a very warm climate, you may want to slightly increase the ratio of beeswax to prevent your balm from melting in your pocket. Conversely, if you are making a winter salve, increasing the carrier oil will ensure it stays spreadable in freezing temperatures.
-
Preventing the “Grainy” Texture: A common issue with organic butters (especially Shea) is that they can become “grainy” if they cool too slowly. This happens when the fatty acids solidify at different rates. To prevent this, you can look into “tempering” your butters, a process which involves holding the butter at a specific temperature before cooling.
-
The Pro-Cleanup Hack: Never pour leftover wax down your drain, as it will solidify and cause major plumbing issues. Instead, while your glass beaker is still warm, wipe it out thoroughly with a paper towel. Once the residue is gone, wash it with hot, soapy water.
-
Storage and Shelf Life: Since your DIY balm doesn’t contain synthetic preservatives, its shelf life is determined by the “use-by” date of your shortest-lived ingredient (usually the carrier oil). Generally, an organic lip balm will stay fresh for 6 to 12 months. To extend this, keep your balms in a cool, dark place. The Mayo Clinic recommends being mindful of how you apply balm to avoid introducing bacteria, so always use clean hands or stick containers.
Conclusion
Choosing to make your own organic lip balm is a small but impactful step toward a more intentional lifestyle. By moving away from synthetic fillers and embracing the healing power of plant-based ingredients, you are providing your skin with the purest form of nourishment possible.
Whether you are crafting a batch of organic lip balm for yourself or creating thoughtful, handmade gifts for friends, the process is as rewarding as the results. Not only will your lips stay hydrated and protected, but you’ll also have the peace of mind that comes from knowing exactly what is in your products. Reducing our daily exposure to “secret” chemicals in personal care items is key to long-term health, and this DIY project is the perfect place to start.
Now that you’ve mastered the “Golden Ratio” and the melting process, the possibilities for customization are endless. Experiment with different scents, textures, and tints to find your signature organic blend! What’s next? How about Learning how to grow your own organic food?
Frequently Asked Questions (FAQs)
Q. Can I make this recipe vegan?
A. Absolutely. You can substitute beeswax with Candelilla wax or Carnauba wax. Keep in mind that Candelilla is denser than beeswax, so you generally only need to use about half the amount of wax called for in a standard recipe to achieve the same firmness.
Q. Why does my lip balm feel “gritty” after it cools?
A. This usually happens with Shea butter. If it cools too slowly, the fats separate and crystallize. To fix this, remelt the mixture and let it cool more quickly in the refrigerator, or use "refined" organic Shea butter, which is less prone to graininess.
Q. How do I add color to my organic lip balm?
A. You can add a natural tint using organic beetroot powder, alkanet root, or ethically sourced mica powders. If you use powders, ensure they are ultra-fine to avoid a "sandy" texture on the lips.
Q. Is it safe to use any essential oil for scent?
A. No. You should avoid phototoxic oils (like cold-pressed lemon or lime) if you’ll be in the sun, as they can cause the skin on your lips to burn. Stick to lip-safe oils like Peppermint, Lavender, or Sweet Orange. You can check the IFRA Standards for safety limits on specific fragrance ingredients.