How to create and use Email Templates in Gmail: Full tutorial
Do you find yourself typing the same email responses over and over again? Whether it’s a weekly report, a standard reply to inquiries, or just a recurring meeting invite, rewriting the same text is a massive waste of time.
Today, I’m going to show you how to automate that process using Gmail’s built-in “Templates” feature. It takes about sixty seconds to set up, and it will save you hours in the long run.
Part 1: Enabling Templates
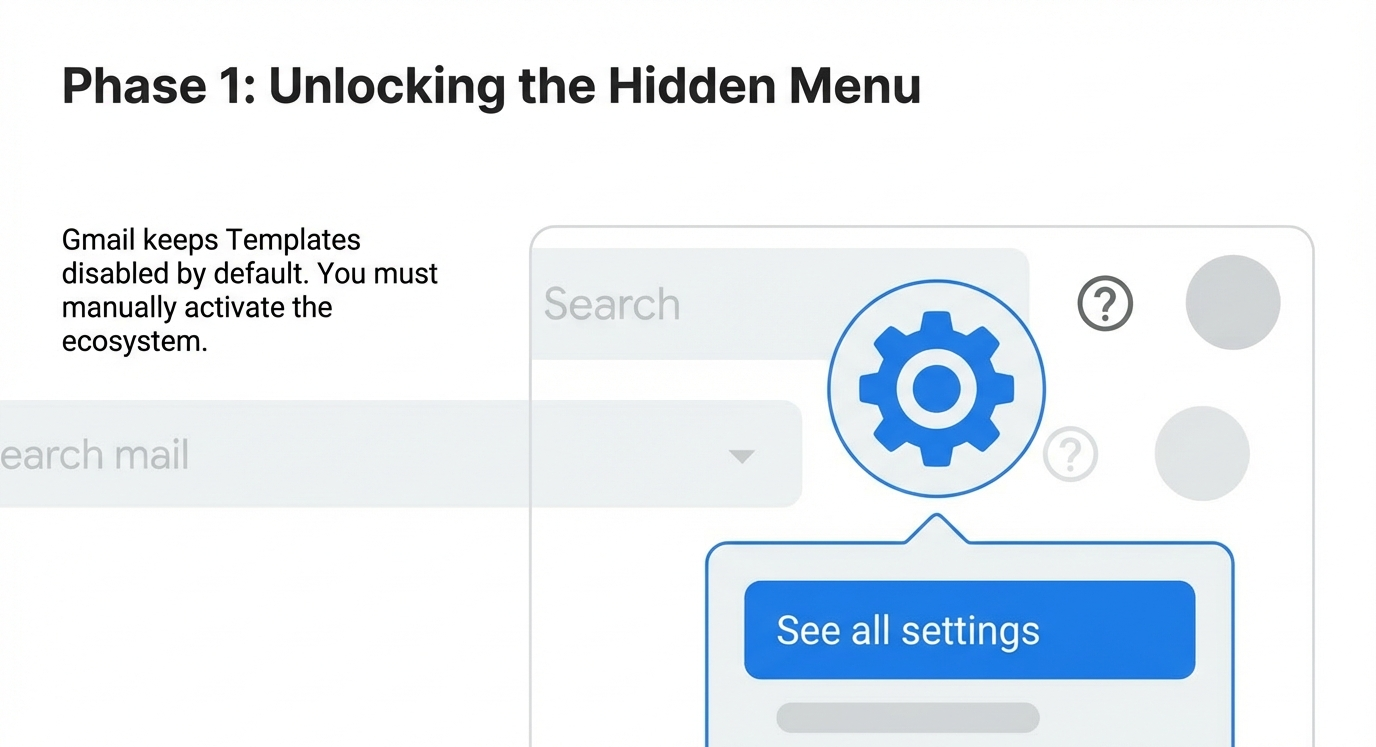
First, we have to actually turn the feature on, because Gmail keeps it hidden by default.
Go to your Gmail inbox. In the top right corner, click the gear icon to open your “Settings,” and then select “See all settings.”
Once you are in the main settings menu, look for the tab labeled “Advanced.” Click that.
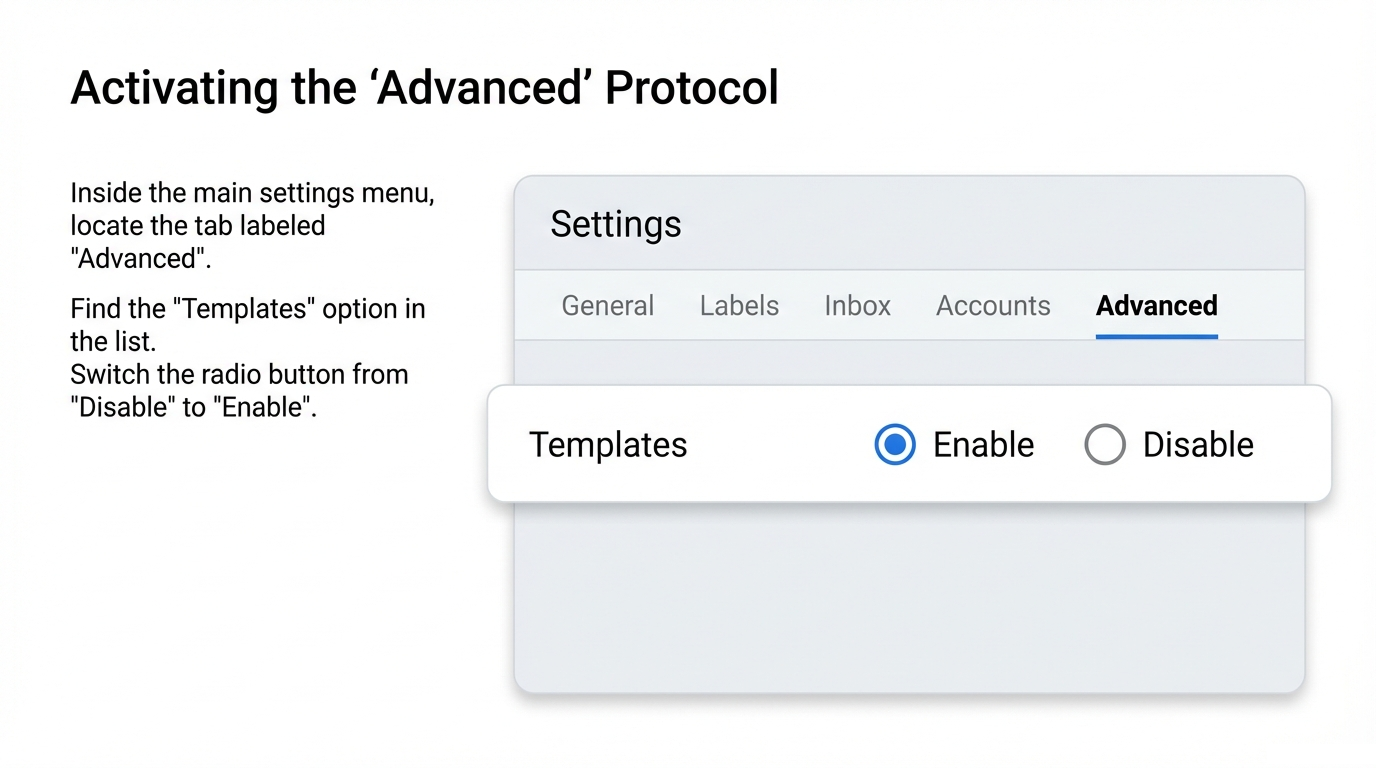
You’ll see a list of options. Find “Templates” and switch the button from “Disable” to “Enable.” Then, and this is crucial, scroll all the way to the bottom of the page and click “Save Changes.” Gmail might refresh to apply the new setting.
Part 2: Creating Your First Template
Now that it’s active, let’s create your first template.
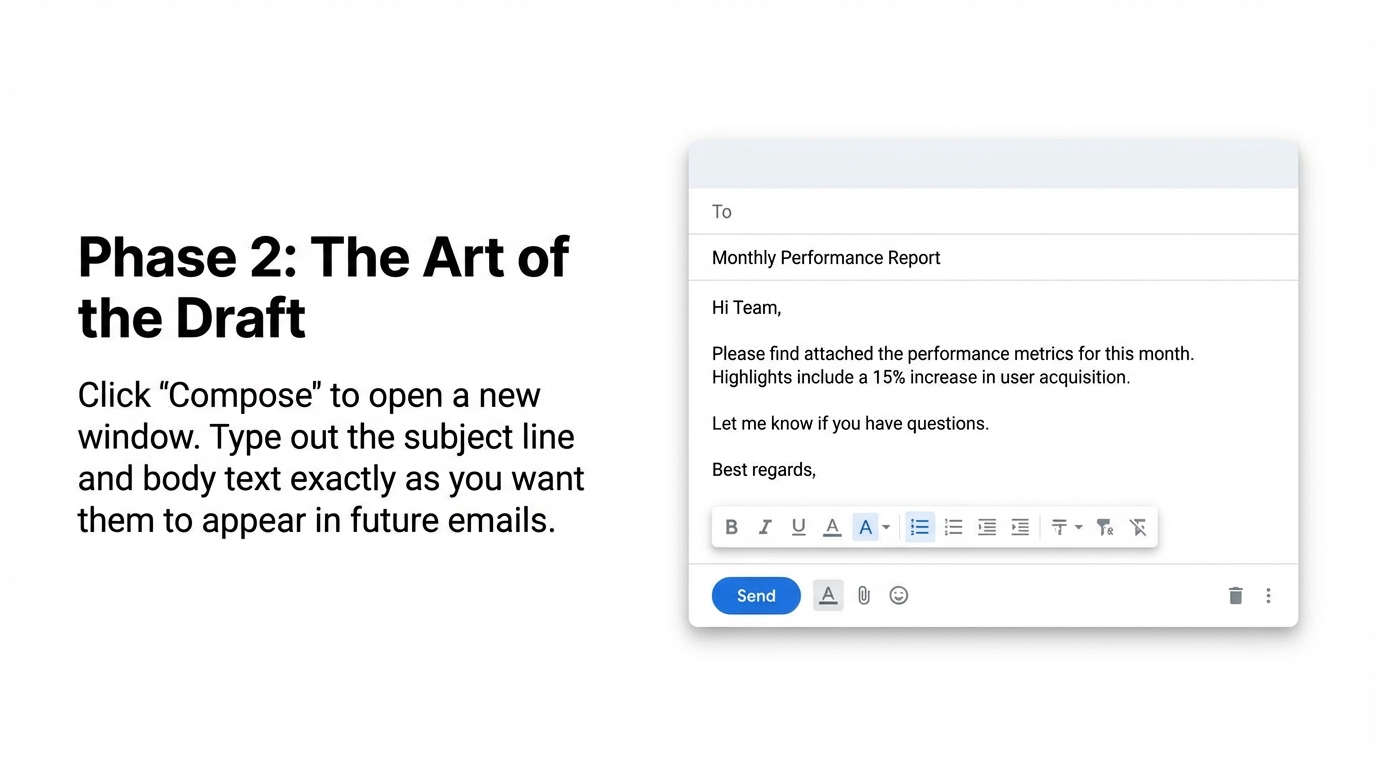
Click “Compose” to start a new email.
Delete your email signature for a moment. If you leave it in, Gmail will save it as part of the template, and when you use it later, you’ll end up with two signatures stacked on top of each other. So, clear the draft completely.
Type out the subject line and the body of the email exactly how you want it to appear.
Once you’re happy with the text, go to the bottom right corner of the compose window and click the three little dots for “More options.”
Hover over “Templates,” then hover over “Save draft as template,” and finally click “Save as new template.”
Give it a clear name—like “Monthly Report” or “New Client Welcome”—and hit Save.
Part 3: Using Your Template
Now, let’s see it in action.
Open a fresh Compose window.
Go back to those three dots in the bottom corner. Go to “Templates,” and under the “Insert Template” list, click the one you just made.
Boom. The subject line and the body text appear instantly. Now you can just add your recipient, make any small personalized tweaks if you need to, and hit send.
Part 4: Overwriting or Deleting
If you ever need to update that template—say the monthly report format changes—just repeat the process. Compose the new version, go to “Save draft as template,” but instead of creating a new one, click the name of the existing template to overwrite it.
And that’s it. Stop re-typing the same emails, and start using templates.